Setup local Linux/Ubuntu VM


If we have a windows machine and if we want to try out and use Linux machine, we need not to buy a new machine or re-install our machine with Linux/Ubuntu OS. All we need to do is to create a Linux/Ubuntu VM on our machine and play around with it.
Most of the times we use Linux/Ubuntu machines as our build machines. We choose this because of various advantages, the main being the performance, crash proof (unlike Windows), efficient & most important thing is cost. Linux/Ubuntu is free of cost, it is open source, and a massive community support.
Lets see step by step on how to configure or setup a Linux/Ubuntu machine.
Step 0: Download the image "ubuntu-20.04.2.0-desktop-amd64.iso" from here
Step 1: Download and install the latest copy of Oracle VM VirtualBox for your host OS.
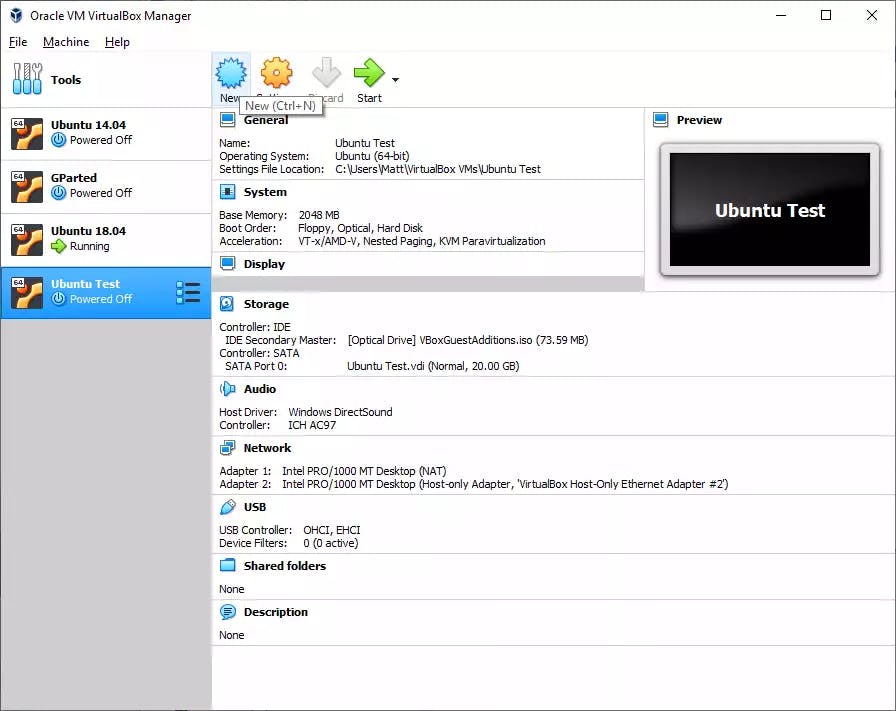
Step 2: Click on "New" icon as shown below,
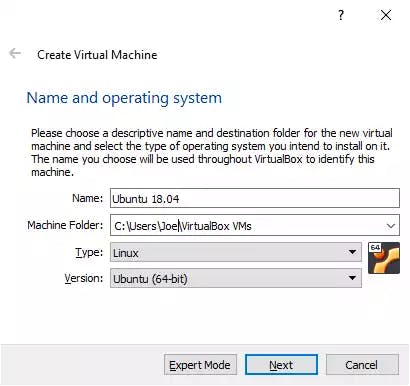
Step 3: Give the name and operating system of your interest,
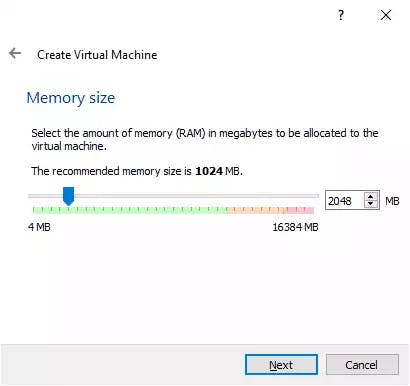
Step 4: Setup RAM size, I would recommend 4gb to 8gb minimum. If your host machine has 16gb RAM, just set 8gb blindly. > Next You can change it any time you want, when the VM is shutdown.
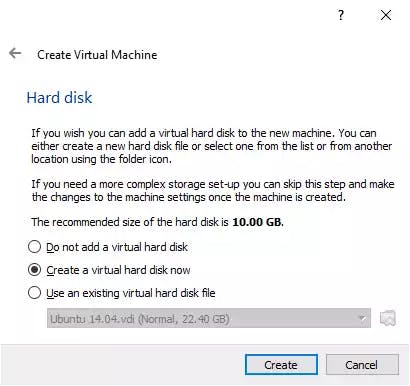
Step 5: Choose, "Create a Virtual Hard disk now". > Next
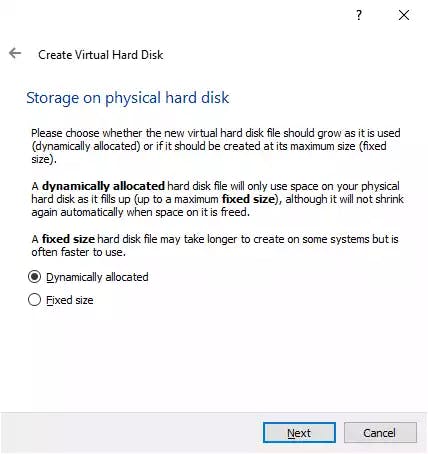
Step 6: Set storage on physical hard drive to dynamically allocated.
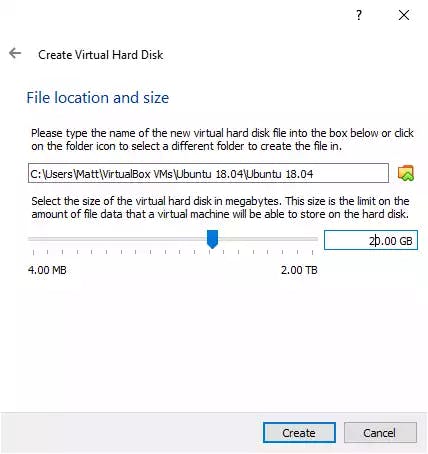
Step 7: 20gb is recommended, But I would suggest 100gb to 150gb. The set memory in this step will take your machine's hard disk space.
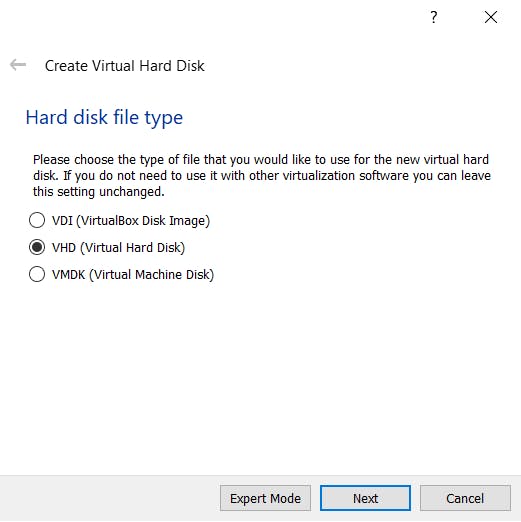
Step 8: Select "VHD"
Step 9: Click On "Create" button. at this point you have successfully configured your VM setting on your Virtual box.
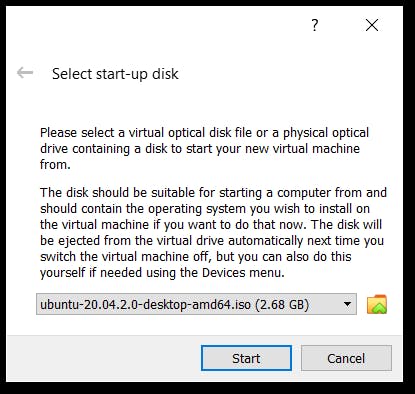
Step 10: Click on Start "Green Right Arrow".
Step 11: Choose the Image that you downloaded on your local machine in "Step 0".
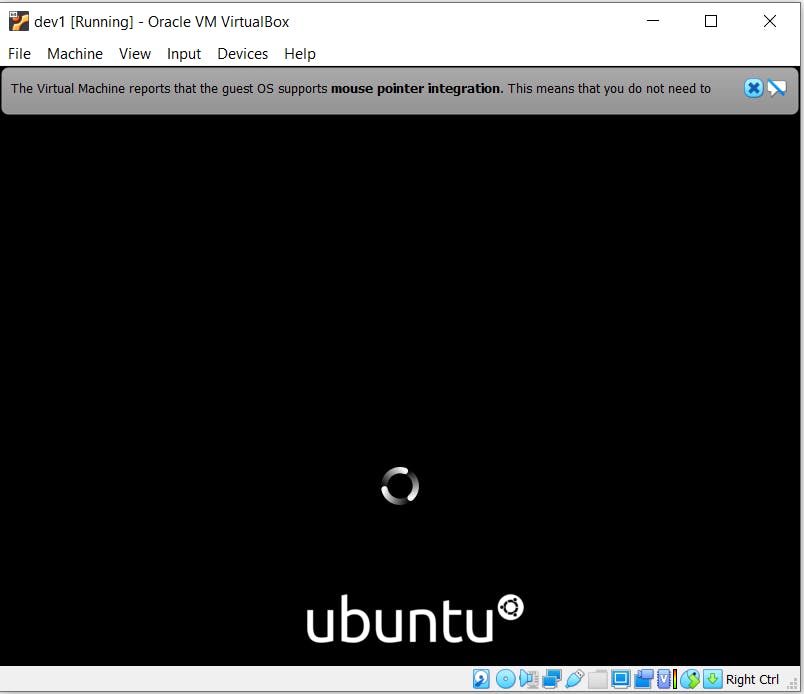
Progressing ...
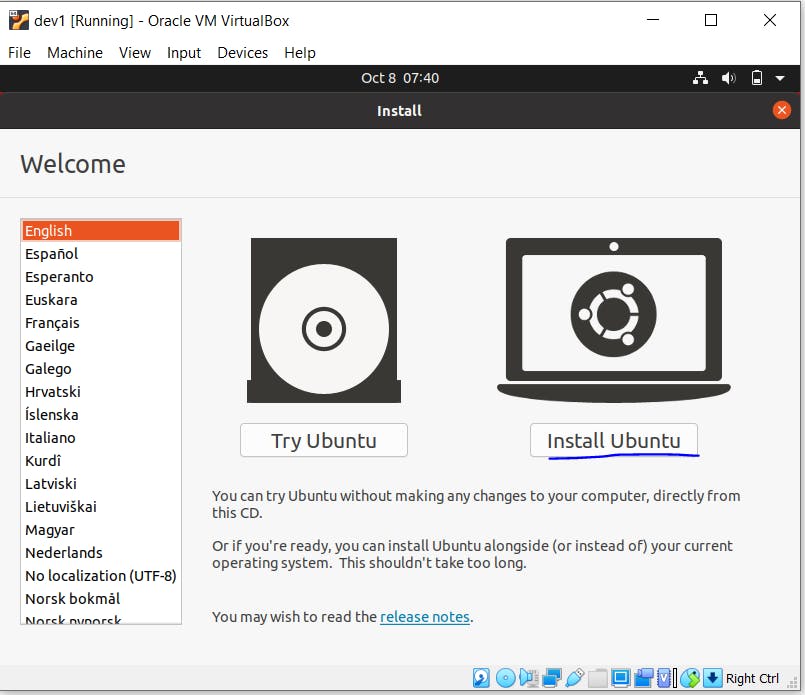
Step 12: Default selection English() US > Click on "Install Ubuntu"
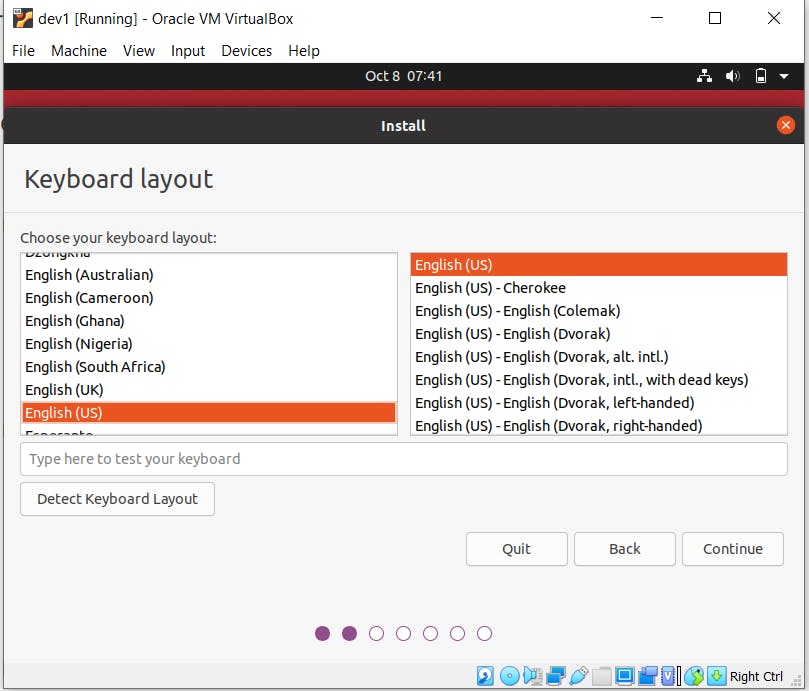
Step 13: Leave it for Default English US Keyboard settings
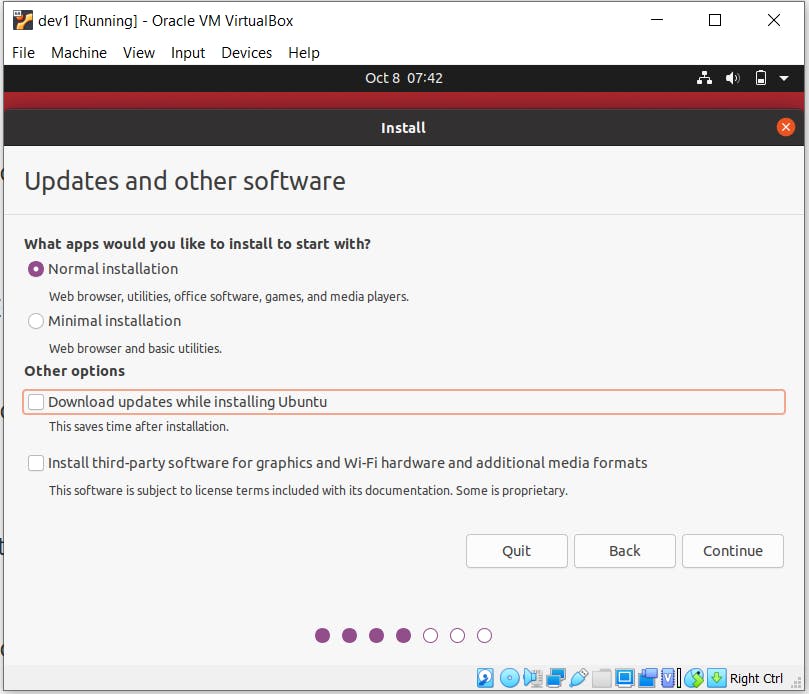
Step 14: UnCheck "Download Updates ......" to save time.
Step 15: Keep this as default "Erase Disk and install Ubuntu" radio selected.
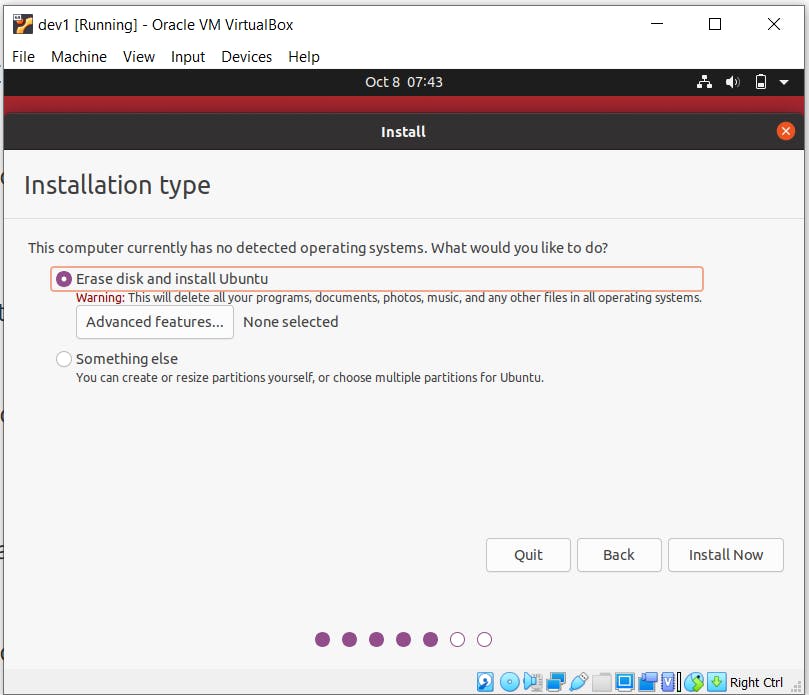
Step 16: Click on "Install Now". & Click on "Continue"
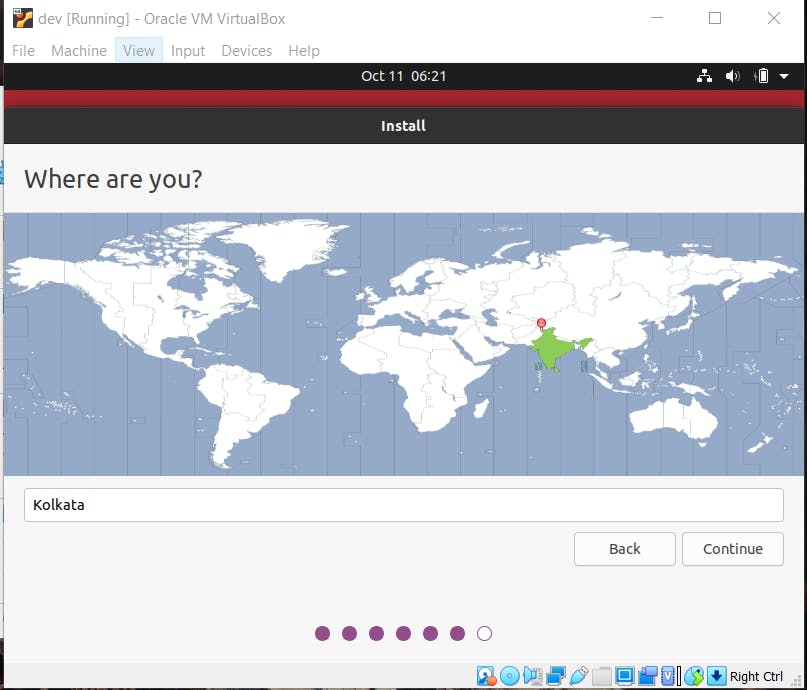
Step17: Select Respective time zone
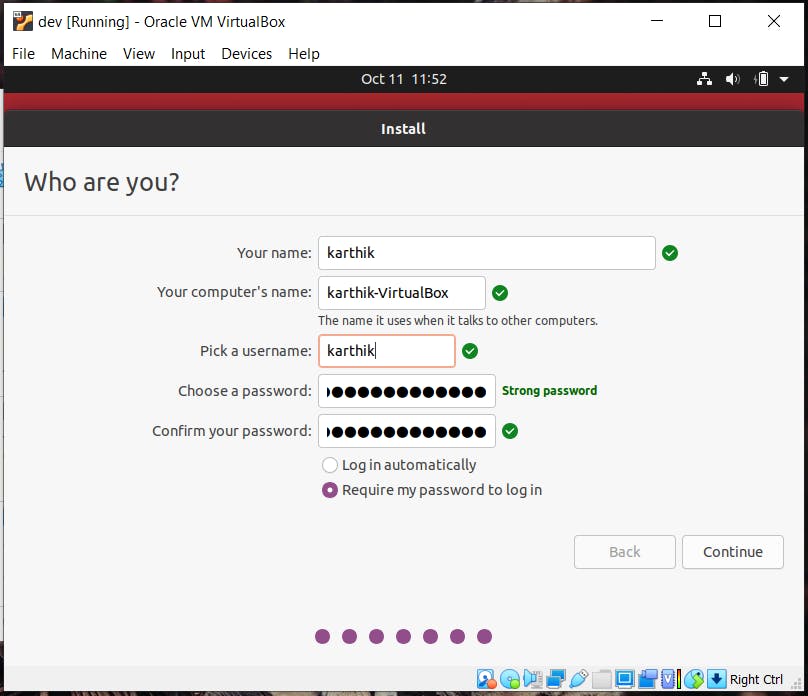
Step 17: Set the user name and password as per your wish.
DONE <3