Setup a private Git server on Ubuntu VM


There are plenty of reasons to host your own git server vs using services like GitHub or GitLab. My main reason being the memory cap of 6 to 10gb.
Step 1:
Setup an Ubuntu 18.04 server as shown here
Step 2:
Install git and git-shell
$ sudo apt update
$ sudo apt install git
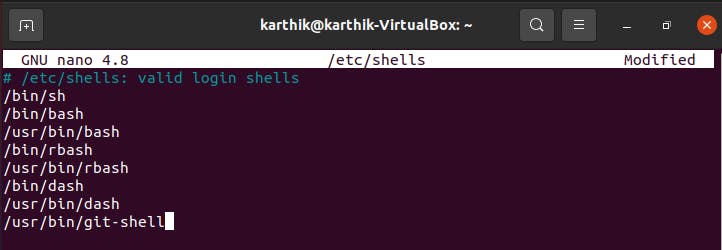
See if git-shell is already setup in /etc/shells
$ cat /etc/shells
# /etc/shells: valid login shells
/bin/sh
/bin/bash
/bin/rbash
/bin/dash
/usr/bin/tmux
/usr/bin/screen
If you don’t see git-shell listed, find out it’s location
$ which git-shell
/usr/bin/git-shell
and add it to /etc/shells
$ sudo nono /etc/shells # and add the path to git-shell from last command
Step 3:
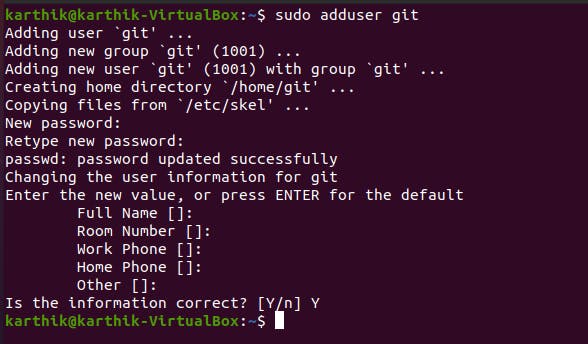
Setup a dedicated (non-sudo) git user
You don’t want to run the git server under your user (especially if you are in the superuser group) so let’s create a user dedicated for git access.
Create git user
Switch to git user

Change to git user’s home directory

Make directory for ssh files

and create the authorized keys file

And add the public keys of any users you want to access your private git server
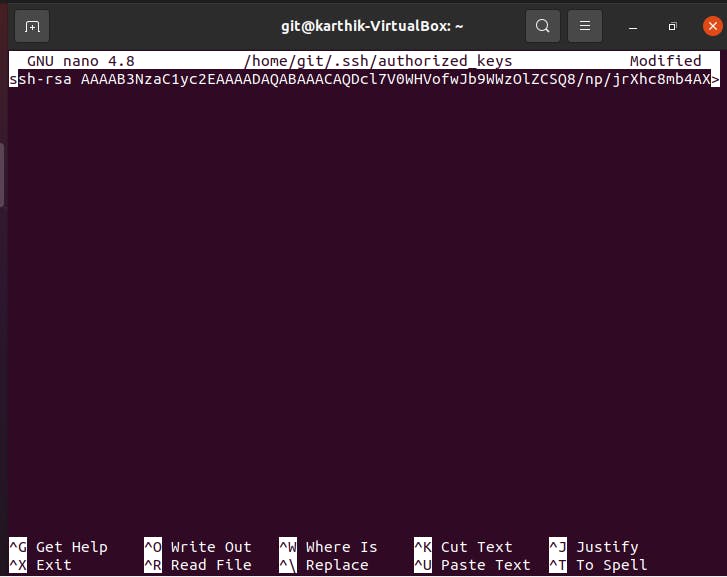
Format : ssh-rsa Body-of-a-public-key-file stace(at)name-of-user
Finally let’s set the git user’s shell to the git-shell Note, this command has to be executed outside the git user context. So you have to switch the context to sudo user as shown below.

Step 4: Creating repo directories
For each repo you want to host, you need to create a directory for the files and properly set permissions. We use sudo for this since you cannot su - git as the git user’s shell is set to the non-interactive git-shell.
First let’s change to the git user’s home directory

Then we’ll create the repo directory

Init the git repo,

change the ownership of the directories and files to git

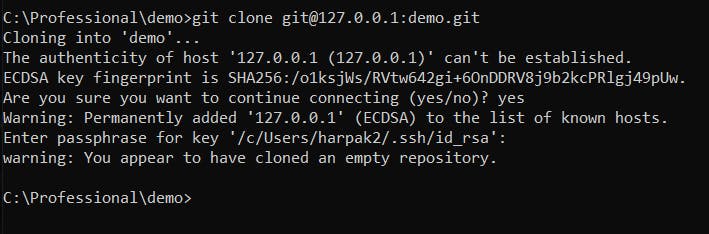
Step 5:
Clone your git repo in Windows machine.
Note: Before this step, you have to follow these steps and install ssh server and client, + enable port forwarding.

enter SSH certificate's password,

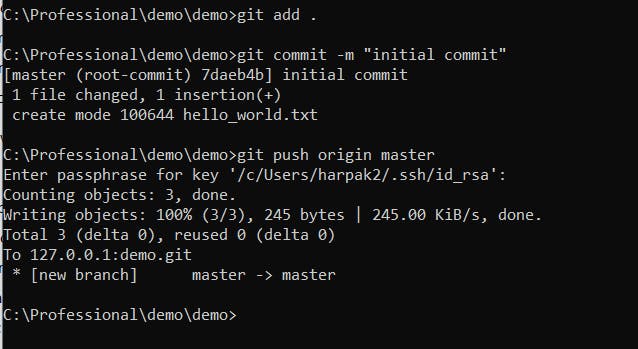
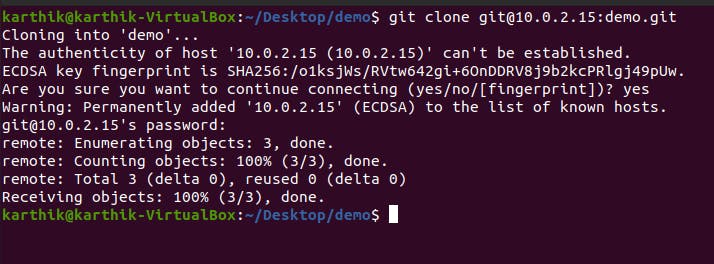
How to verify this back? Simple, again clone from the VM.
DONE <3